


The Key Equipment Disruptive Boot is the last remaining dedicated hardboot splitboarding boot. It is the boot that keeps the Golden Age of Hardboot Splitboarding alive! I should be obsessed with this boot because it keeps the momentum going in the thing that I love most. And yet I’ve never really felt that energy. I have had the boot since December 2023, and I struggled mightily with it. I found myself frustrated with my inability to enjoy something that so many others were raving about! Fast forward to 2025, and I finally dove deep enough to perfect this boot for hardboot splitboarding.
What Makes a Great Hardboot?
I recently composed the six characteristics of a great hardboot splitboarding boot. Out of the box, the Disruptive Boot had three of them: 1.) A “diagonal strap” going over the ankle of the boot, much like your soft boot ankle strap and 2.) A three-piece design with 3.) A removable tongue. From there, I made modifications to the boot to get it as many of the six characteristics as I could. The following recommendations detail two paths that you can take to perfect your Key Equipment Disruptive boot. Path one is what I call the “Disrupted Boot,” a lightly modified boot that delivers improved ride feel. Path two is the "Interrupted Boot,” a wholesale re-working of the boot to deliver five of the six components of the ultimate hardboot splitboard.
The Disrupted Boot
The Disrupted boot is a series of two mods you can make to soften the flex of the boot. The flex of an unmodified Disruptive boot comes from the stiff, plastic tongue at the front of the boot. This tongue can be easily removed with the two screws that connect to the lower shell. The tongue is two pieces bolted together and, interestingly, it’s the lower piece of the tongue that provides most of the stiffness. There is ample room to remove plastic from the lower tongue with shears or any safe cutting tool. I took as much material as I could while still covering the central opening of the boot and without creating a thin point in the middle that might pinch. I cleaned up my cuts by rounding them with a razor blade and then sanding the plastic smooth. I waited to re-install the tongue before making the next mod.


A Better Diagonal Strap
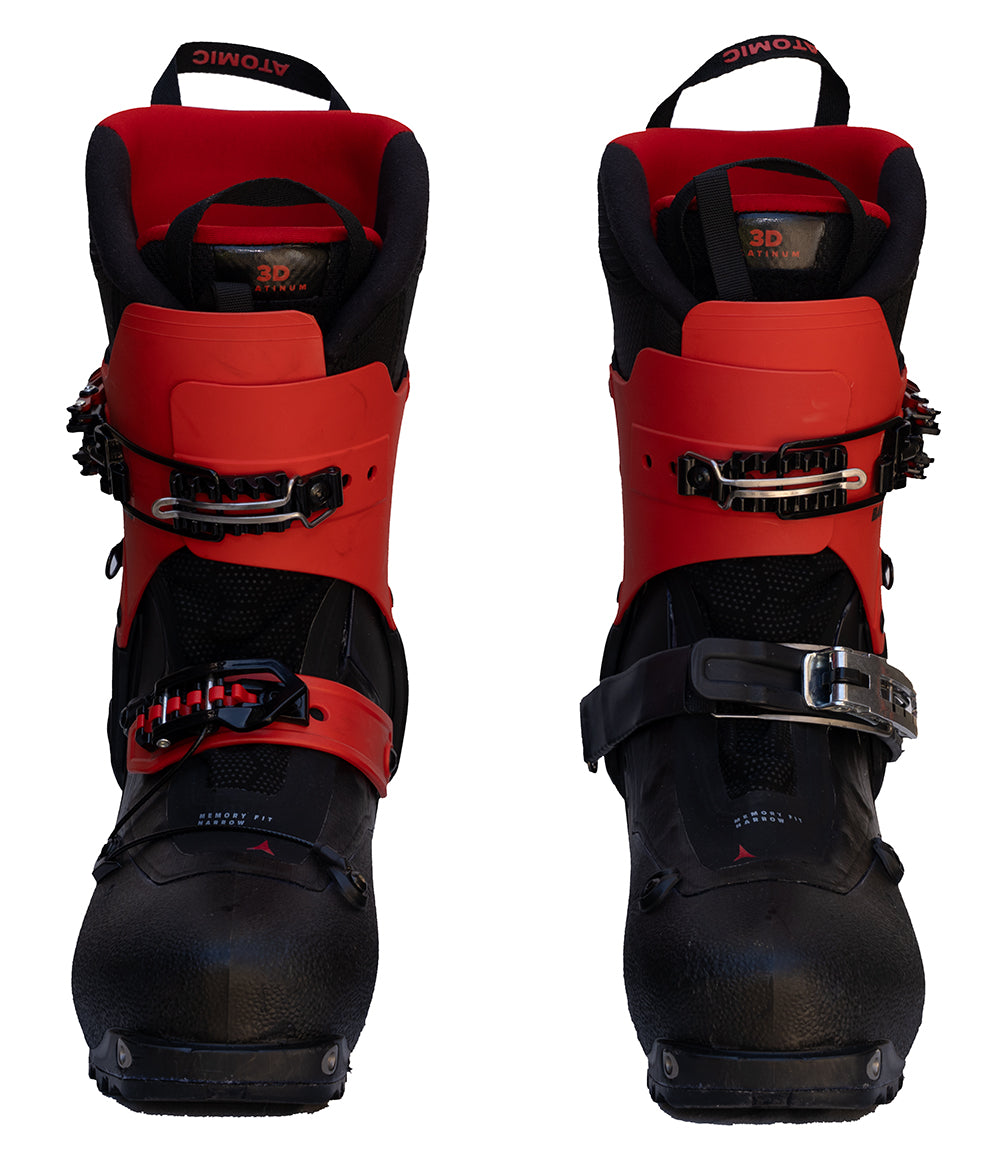
The diagonal strap runs over the ankle of the disruptive boot to deliver the familiar feel of a softboot binding ankle strap. The Disruptive boot has a diagonal strap that is exceptionally wide and that impacts the flex of the boot. Step 1 is to remove it!

What I want my diagonal strap to do is 1.) secure my heel and 2.) “break” the boot. The diagonal strap creates a natural pivot point between the upper cuff and lower shell, just like the ankle strap secures your lower foot to the binding but lets your upper cuff flex free. I always found that the Key diagonal strap was too wide to create a really clean “break” of the boot. It also distributes heel-hold pressure along the strap rather than clamping in one place. Fortunately, I have two sets of Phantom boots and I was able to pull the diagonal straps off of a pair that’s currently unused. The phantom Pivot Buckle Mod Kit seems to have better clamping force and delivers a cleaner break of the boot, thanks to how narrow it is. They were effortless to add to the Key boot, working as a direct replacement for the diagonal strap with no modifications needed.

These two mods result in the Disruptive boot flexing significantly softer in the upper cuff. If you are having the opposite problem, a boot that’s too soft, you can purchase a stiffer tongue from Key Equipment.
The Interrupted Boot
Modding the tongue and improving the break got me back in the boot and excited about pushing it further. I have a philosophy that any boot with a plastic tongue skis like a ski boot. I still felt like the Key boot was foreign and unyielding compared to a Phantom boot that was playful and familiar. The main difference is that I rode the Phantom boot without the tongue. Could I ride the Disruptive boot without a tongue? I tried for one single lap and the answer was a hard no. The boot becomes waaayy too soft, so much so that you cannot drive your toe edge. Not a good feeling! The Phantom boot uses their Link Lever to return stiffness and drive to the boot that you lose without the tongue. Could I add the link lever to the Disruptive boot? It was time to find out.
The Interrupted boot sits at the intersection of the Phantom Snow Industries Slipper HD and the Disruptive boot. It marries the best of both in a way that elevates the entire experience.
The Key Connection
To start the conversion, I first found out what ski boot the disruptive boot is converted from. I quickly discovered the Roxa RX Scout and noticed that it had a very familiar looking connection point on the lower shell. It looks exactly like the connection point on the lower shell of the Phantom boot! I knew I needed it. I made some calls to Roxa dealers locally and could not find any spare parts for the re-conversion. I then made a call to Hampus at Key Equipment and he said he’d look around for me. A few weeks later, two spare connection points showed up with my name on them and I did not hesitate to start the conversion. This was the Key Connection! Thanks, Hampus!

Swapping Boot Hardware
The Key boot walk/ride lever removes easily with phillips head screws on the lower shell and metric hex (allen) keys needed for the upper shell. I got creative with the hardware for re-attachment, using the hex screws and retaining nuts from the upper cuff to attach the original connection point to the lower shell. There is certainly better hardware for this but it worked. Next I removed the Link Lever from a set of Phantom boots and started prepping the hardware and “Lever Mounting Boot Plate” for conversion. It was immediately apparent that I couldn’t use the existing holes in the key boot for re-attachment. A couple quick mock ups and it was also apparent that I was going to have to re-position the link lever to get the appropriate forward lean.
Modify the Disruptive Upper Cuff
My goal was a flush placement of the Link Lever on the outside of the upper cuff. The Lever Mounting Boot Plate is a flat piece of connecting hardware that has two screw inserts that also needs to sit flush against the inside of the upper cuff. To accommodate this, you need to dremel out the plastic above the upper connection point (hole) in the Key boot upper cuff. Once you’ve made room, the Lever Mounting Boot Plate drops in nicely. I then secure the lower screw through the link lever and into the Lever Mounting Boot Plate. Next, I attached the link lever to the lower cuff which helps me scribe the perfect spot for an additional hole you’ll need to make for the upper link lever screw. This order of operations lines things up nicely. Secure the top screw and you've done it!


Calling It: The Best Boot!
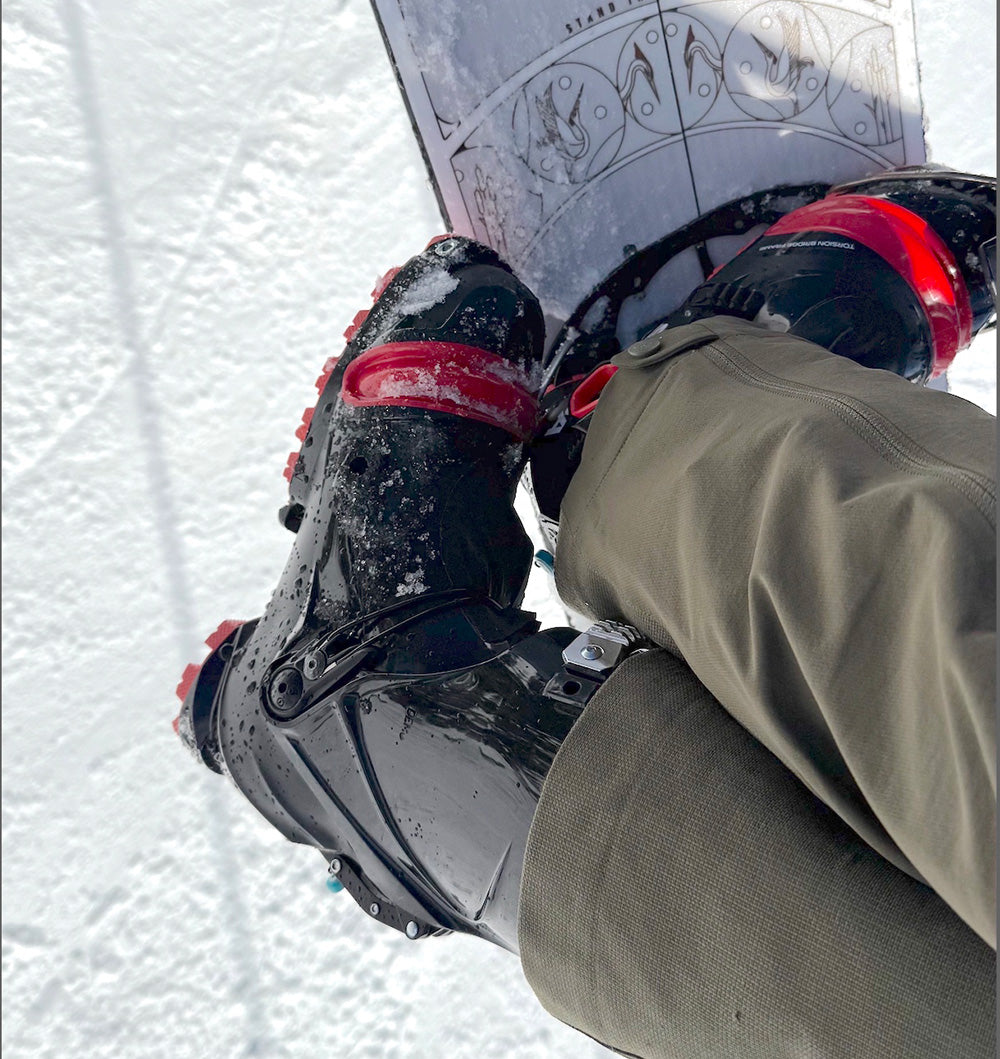
Spoiler alert: The author has now ridden this boot a lot! It is absolutely fantastic. It marries the dampness of the Key Equipment Disruptive Boot with the responsiveness and incredible range of motion of the Phantom boot. That combo alone would make it the best hardboot splitboard boot ever made. I’m fired up! Because you’ve left the tongue at home, the boot now walks amazing. The range of motion in the upper cuff just barely lags behind the Phantom boot, which is a huge improvement. The ride feel is somehow MORE powerful than the Phantom boot. I think the additional weight and thickness of the Key boot's plastic makes it a harder charging boot. That combo would make this the best hardboot splitbaording boot ever made. We did it! I am blown away at the performance and can't wait to get this boot in front of more riders.

What to Buy
To build the Interrupted Boot you can either start with a pair of disruptive boots or a Roxa RX Scout. The RX Scout can be had for significantly less than the Disruptive boot but you'll need to do a bit more hardware magic than if you start with a Disruptive boot. For the diagonal strap, you'll need to buy Phantoms Pivot Buckle. For the rest, you'll need the Link Lever and Lever Mounting Boot Plate. I feel confident about this mod because Key Equipment makes it super easy to replace just the cuff, tongue, and all the hardware. It's a nice service!
Of course, Alpenglow Sports is here to help. Give us a call at (530) 583-6917 and ask for Max.
Leave a comment
This site is protected by hCaptcha and the hCaptcha Privacy Policy and Terms of Service apply.