


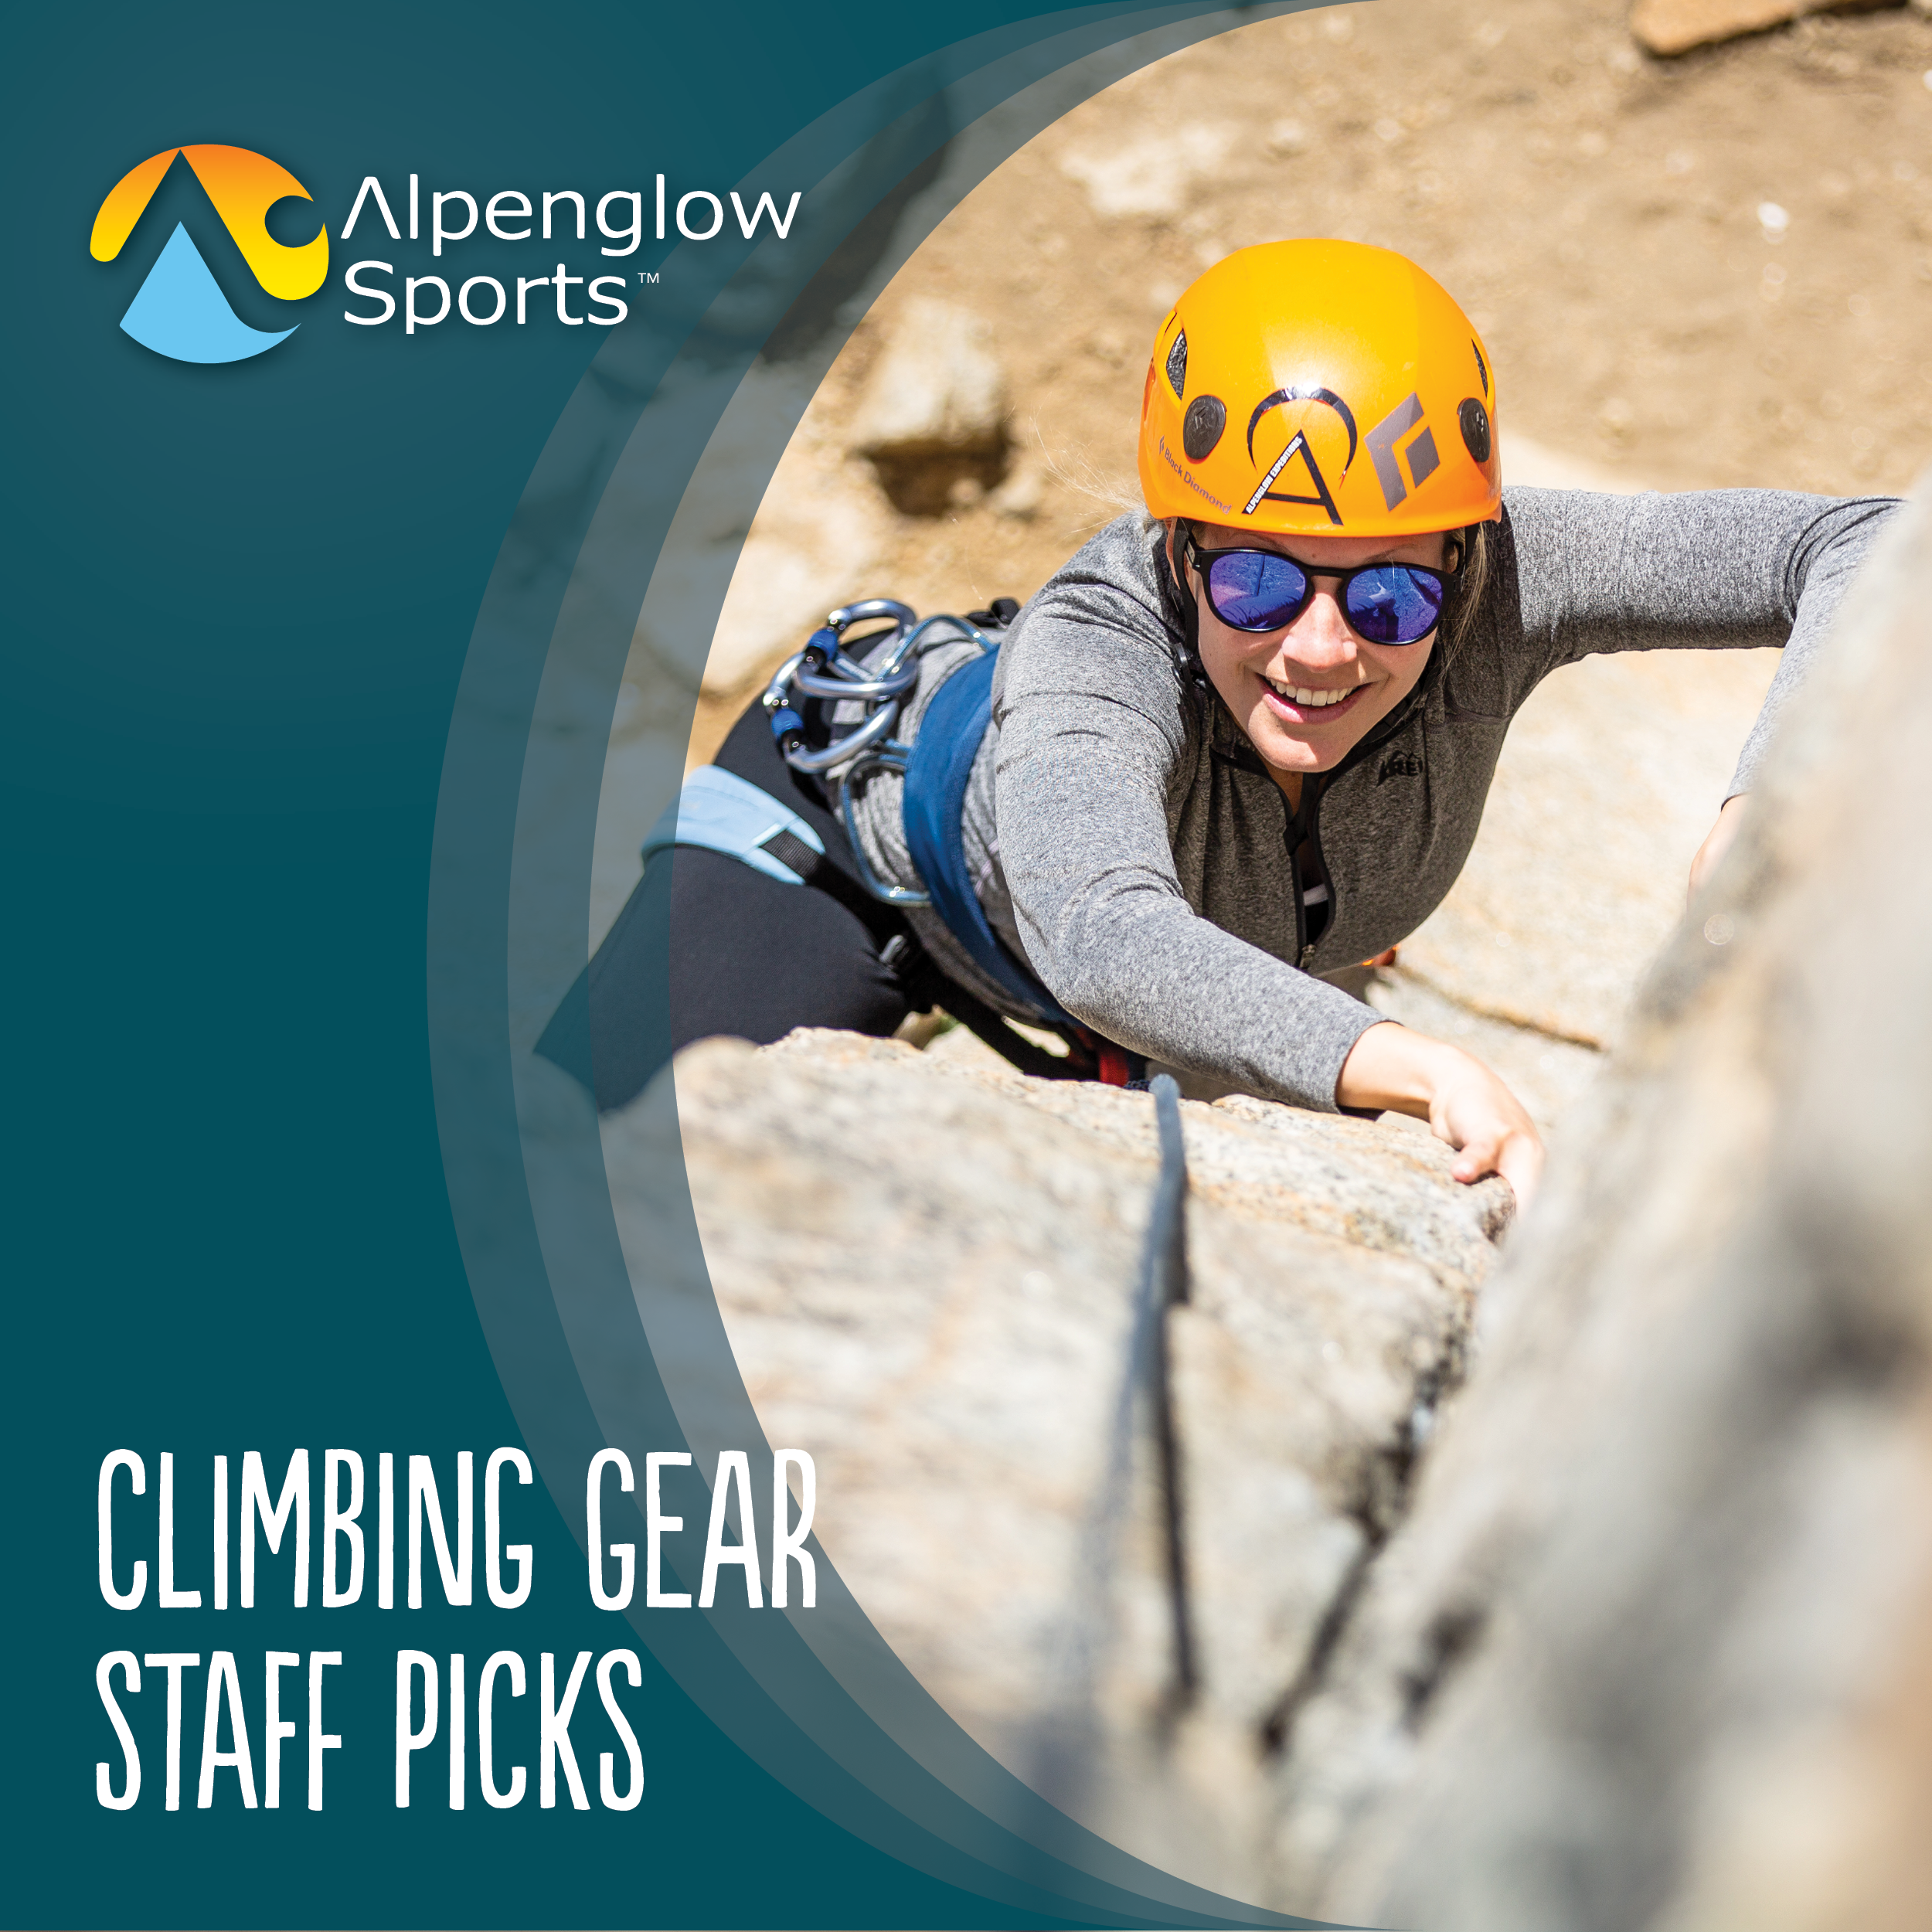







Looking for insight on how to build your first rack for single- and multi-pitch sport climbing? Let's dive in to the details together!
Hi, I'm Bryce and I'm here to get you all geared up for your sport climbing aspirations! I got my start in sport climbing at Smith Rock in Oregon and have built a lot of my experience in Red Rock Canyon just outside of Las Vegas and in the North Cascades of Washington where I instructed for the Northwest Outward Bound School. Whether you are getting out in the Big Chief and Lover's Leap areas around Tahoe or you are exploring your own neck of the proverbial woods in your first ventures outdoors from the climbing gym, we here at Alpenglow Sports want to get you set up to explore in confidence!
I wrote this guide assuming you already have a nice dynamic climbing rope, a well-fitting harness and helmet, and a pair of climbing shoes. We are focusing on the dangly bits hanging hanging off your harness that help you stay connected to the wall!
Table of Contents
Belay Devices
To start you off, you need a way to control the rope using a belay or rappel device. With proper belay and rappel technique and the right device, you can keep yourself and your partners safe!
I think it is valuable to have two belay devices: one assisted braking device (like a GriGri) and one tube-style device (like a Reverso). The GriGri is great for lead belaying and belaying from the top of a pitch while giving cam-assisted blocking to the rope (it helps grab the rope when you want it to), but since it is designed for only one rope at a time the GriGri can't be used for a double-strand rappel, which is the most common method we use. The Reverso on the other hand can manage two ropes which makes it incredibly versatile as a rappel and belay device, but it does not give any braking assistance when belaying. A Reverso or something similar is also a much lighter option and can be used in most scenarios when a GriGri could be utilized. If I was forced to only use one belay device, it would be something like a Reverso for its versatility, but with that being said my GrGri is what I use much more often. I just plain like it. :)
There are many belay devices out there, and there are even multiple devices within the GriGri family that are optimized for different techniques. The GriGri+ has added features for safety and comfort that can adjust the amount of braking assistance you get while top rope or lead belaying. The Neox gives an incredibly smooth lead belay thanks to a low-resistance camming device that spins freely while paying out rope until it needs to engage, when it then pinches onto the rope. All three belay devices in the GriGri family can be used to lead belay, top rope belay, or belay a follow up from the top of a pitch – you just need to find the right one for you!
Quickdraws (x12)
Time to start clipping carabiners to bolts!
The first thing to consider when choosing quickdraws is what type of carabiner is used. Wiregates are lighter, but have a nose that can hook on the rope or other softgoods more compared to keylock (solid gate with a cutout for the nose to slot into). Some quickdraws even have one of each carabiner! Larger carabiners have wider openings that are easier to clip the rope into, and smaller carabiners are lighter weight.
Many climbers have two different lengths of quickdraw in their rack, though that's not critical. I personally like having two different lengths of quickdraw to account for more wandering routes, but this really isn't a big deal, and I have plenty of friends that have a full rack of just one type. To start, just get 12 draws that you like!
Bonus: The Phantom Quickdraw is a lightweight option more geared toward alpine climbing in settings where there are mixed routes involving both gear placements and bolts. The downside is that the skinny dyneema dogbone allows the draw to twist around more, which makes it more difficult to clip the rope to while leading. For some, this is a justified compromise. For most, quickdraws with a thicker nylon dogbone are easier to use and are still great.
Locking Quickdraw (x1)
Having a locker draw opens up an efficient and anchor option when sport climbing. Paired with a quickdraw at the top bolts so the bottom carabiners' gates are opposite and opposed, you get the quick deployment of two quickdraws with the added security of locked carabiners in an anchor that you and your partners can feel comfortable top roping on. There are many, many uses for locking quickdraws, making it a versatile piece of gear to add to the rack.
On the CAMP Locker Draw KS, CAMP’s lightest locking carabiner - the Photon Lock - is paired with the Nimbus Lock that has a particularly rounded shape for an HMS carabiner to provide smooth running for your rope.
Personal Anchor System
Personal anchors are a topic where if you ask 10 people, you'll get 11 opinions. Of the pre-made options, I think the most versatile is the Petzl Connect Adjust as its length can be easily adjusted without unclipping the carabiner. Whenever you need some added security, you can clip your tether directly to the anchor or a bolt.
My personal method of choice when multi-pitching is to clove hitch in with the rope. Simple, efficient, and adjustable. It does take a little practice, and there are situations when it isn't an ideal method. I still carry my Connect Adjust because it is always good to have multiple techniques/options. (That goes for most climbing systems really, if something is going to work 90% of the time you need something else for the last 10%!).

My Favorite Friction Hitch
My Hollowblock does not leave my harness. It is the best sewn friction hitch that I have used - nice and grippy on any rope 7mm or thicker even if the weather comes in a few hours early (or you’re on the wall later than planned) and you’re rappelling on a wet rope. I use the Hollowblock tied in a prusik, autoblock, or kleimheist hitch as a "third hand" while rappelling, ascending a rope, or paired with a pulley as a progress capture device. A must-have!
It is also common to use accessory cord as a third hand. Typically, cord for a third hand should be at least 2mm thinner than the diameter of the rope in order to get good "bite" from the friction hitch. Thicker than 6mm is difficult to work with (thick = less supple), but cord loses strength quickly as it gets thinner.
I like to have two options for a third hand on my harness all the time so I am not screwed if one gets dropped. To ascend a rope, you also need two methods of moving up, so even if I have a HollowBlock I will carry two third hands.
Pear-shaped Locking Carabiners (4x)
HMS stands for "Halbmastwurf sicherung". That's German for "carabiner designed to work well with a munter hitch". In normal English, that means ropes run over these pear-shaped carabiners well. HMS carabiners are the ones to use as the focal point (sometimes called a master point) in an anchor, or while using a rappel/belay like the Reverso that we mentioned earlier. They are also relatively spacious carabiners, which makes them valuable in multi-pitch anchors where clipping space is at a premium. When I use the rope as my tether, I tie a clove hitch on an HMS carabiner that is clipped (and locked!) into the anchor.
Most of the locking carabiners I use rock climbing or in alpine contexts are the Petzl Attache. In this latest iteration, the wide side of the pear-shaped carabiner is round stock while the rest remains I-beam similar to the last version while shrinking the size slightly. The round stock side provides a smoother run for the rope when being used with a tube- or plate-style belay device or when utilizing a munter hitch, while the I-beam gives us some weight-saving. The Attache has great clearance when the gate is open so it is easy to clip and unclip, and the carabiner is spacious enough to receive all that you desire to attach(e) to it!
D-Shaped Locking Carabiners (4x)
D-shaped lockers are used to connect things. While HMS carabiners can be used for pretty much anything a D locker would be used for, the D lockers tend to be smaller and lighter. Primary uses in sport climbing include clipping an anchor to bolts. I also use a D-locker on my third hand when rappeling.
I think it is important to find out what you like in a carabiner by holding it in your hand, opening and closing, locking and unlocking. Locking carabiners can be screwgate (most common) or autolocking (spring-loaded gate that locks on its own). Autolocking carabiners typically require either two or three "actions" like twisting or sliding part of the gate to unlock it.
The way a carabiner feels in your hand might not be huge for people that are newer, but I can definitely tell if I will or will not like using a carabiner on the wall based on how it feels in my hand to open and close the gate, and to lock and unlock it.
Dyneema Slings
For a sport climbing rack, you don't need a ton of softgoods (non-metal bits and bobs), so this is what I recommend you start with. It certainly never hurts to have more as you find your own preferred methods of using slings. I recommend that you start with:
3x 60cm
2x 120cm
1x 180cm
Use your 60cm slings to make your own alpine draws that can quickly extend to reduce the amount of rope drag on wandering routes, or buy them pre-made.
A "double-length" 120cm sling can be used as rappel extension or personal tether.
A triple length (180cm) sling can be used as a second bundle of anchor building material. The sling is already sewn in a loop so it is quickly applied in many situations when cordelette would be tied into a loop. To increase anchor building efficiency with sport multi-pitch, one of these can be pre-rigged as a quad anchor that only needs to be clipped to the bolts.
120cm Nylon Runner
The conversation between nylon and dyneema in slings in an interestingly nuanced one that honestly doesn't often turn into a big deal. Nylon is heavier but has a little stretch to it. Dyneema is lighter, but has very little stretch and as a result is susceptible to damage through shock-loading in some situations. The most common one is when you're at an anchor while tethered, reaching up above your attachment point so there is some slack in the tether, and then your foot slips. The impact on the tether from a slack position is called shock-loading, and that is one of the worst ways to put load on any soft good.
The slight stretch of nylon makes it more resistant to damage through shock-loading, much like a dynamic climbing rope stretches to absorb impact on a lead fall. you could replace one 120cm dyneema sling with a 120cm Nylon Sling.
20-25ft 7mm Cordelette
A cordelette bundle is the most versatile anchor building material. You can build all sorts of anchors from various self-equalizing anchors like a quad to simple and efficient V shaped anchors with a single knotted focal point. In sport climbing, it is far less common to need the ability to make an anchor with a single strand of cordelete, BUT it is always good to have some spare material in case shit hits the fan and leave material behind in order to belay quickly. I utilize a cordelette in anchors the most in trad/alpine climbing, but I carry it all the time because you can do so much with it!

Bonus: The "Oh Sh*t" Kit
What would you need if sh*t hit the fan? Start with one D locker and add what you can! Here are some suggestions. The Gigi Belay Device is a simple, lightweight plate-style belay device. It functions very similarly to guide ATC or Reverso type devices. I carry this as a backup belay/rappel device. It also makes belaying two followers dramatically easier compared to the increased friction of an ATC because two ropes run much easier through this device than an ATC. CAMP also makes the OVO which is essentially the same exact thing.
The important thing about the "Oh Shit" Kit is that it remains compact - it all should fit on one carabiner. This carabiner can be used to rappel off of if you have to improvise a rappel station, and some people even carry a single rappel anchor ring or steel quicklink to use instead of sacrificing a carabiner. I also add my Hollowblock to my kit as it does make ascending the rope and mechanical advantage systems easier than using a friction hitch, though the friction hitch works.
I think it is important to add in a rope knife that can clip onto the carabiner, something like the Petzl Spatha. This enables you to cut cord to length for a bail anchor and remove ruined, sun-bleached rappel anchor material if needed. Most importantly, you MUST have a tool to cut cheese and other tasty bits for your crag charcuterie board!


Leave a comment
This site is protected by hCaptcha and the hCaptcha Privacy Policy and Terms of Service apply.